How to insert a picture to flipbook by using FlipBook Creator?
FlipBook Creator Professional is a professional flipbook software to convert PDF to online flipbook with realistic page-flipping effect. It is a powerful software which is compatible with Windows XP, Vista, Windows7, Windows 8 and so on. FlipBook Creator Pro is also a good way for teachers or students to make a presentation in a more interesting way in the class. It enables teachers or students to insert pictures or images to online flipbook by using powerful Page Editor function.
Here are the steps for users to insert a picture to flipbook:
Step1: Quick start.
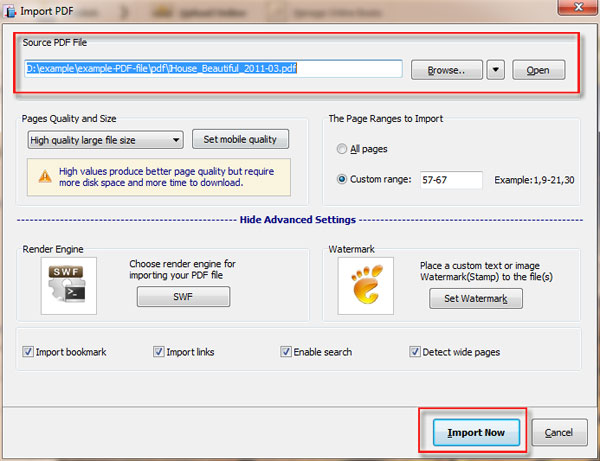
Lauch FlipBook Creator Professional from the desktop and click the button of “Create New” to import PDF files.
Step 2: Select templates and themes
There are so many flipbook templates and themes in FlipBook Creator. Users need to choose the templates and themes they like.
Step 3: Insert image to flipbook.
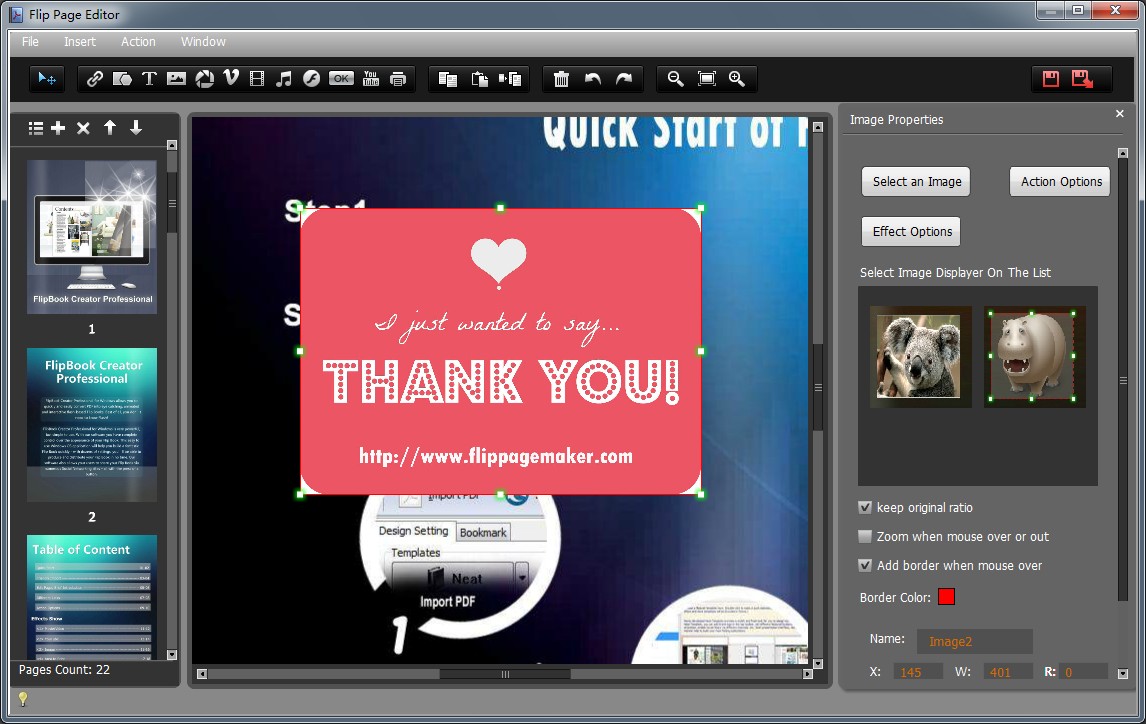
Click the button of “Edit Pages” to enter a Flip Page Editor, then click the icon of “Select Image Displayer to Insert”. Draw a box on the page of flipbook, and insert image to it. Save the setting and exit the Page Editor.
Step 4: Publish online digital magazine
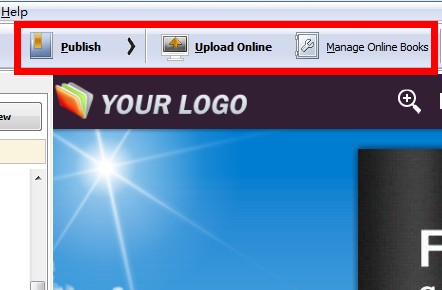
Users can click the button of “Publish” to output flipbooks in different formats. In addition, users can also upload those flipbooks they create to our online server.
Free download FlipBook Creator
Free download FlipBook Creator Professional
Free download Photo to FlipBook